Creating Reports
Reports allow you to receive periodically a snapshot of a Dashboard so you can see how the it was at a specific time.
There are different ways to create a Report for an existing Dashboard:
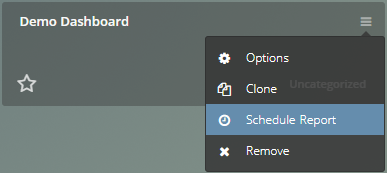
- Go to Dashboards page.
- On the Dashboard options click: Schedule Report.
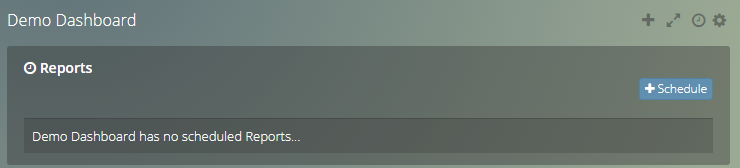
- Go to a specific Dashboard with Widgets assigned.
- On the top right Dashboard options click: Show/Hide Reports, this will show the list of Reports the current Dashboard has.
- Click Schedule.
How to Configure a Report #
When creating a Report you have to set the following options.
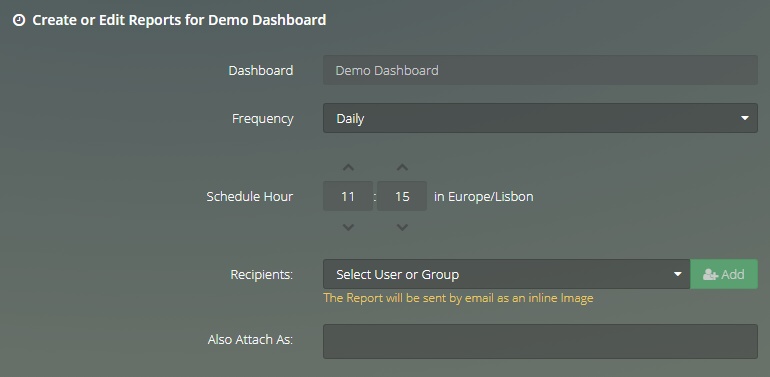
Frequency:
Set the Frequency your Report will be sent, you can choose:
- Daily - Every Day at a specific time.
- Weekly - Every Week at a specific time and day of the week.
- Monthly - Every Month at a specific time and day of the month.
Note
If the Frequency is Weekly or Monthly you also have to select the Day of the Week or the Day of the Month respectively.
Schedule Hour:
Set the hour your Report will be sent.
Note
The time is set using your time zone (detected through your browser).
Recipients:
List of Users or Groups that the Report will be sent to.
Note
Only users invited to the Viur account can receive Reports. You can invite users in the company page.
Also Attach As:
By default Reports are sent inline in the E-mail, but you can select PNG and PDF files to attached to the E-mail as a separate file.